Apple’s macOS operating system handles display resolution completely differently than regular Windows PCs. Thanks to the introduction of "Retina" displays over a decade ago, Macs use an advanced scaling algorithm that completely separates the physical hardware pixels from the mathematical UI scaling. In this massive 1,500-word authority guide, we teach you exactly how to navigate the macOS Settings to check or alter your screen resolution, ensuring maximum graphical fidelity on both internal laptop screens and external 4K monitors.
1. Understanding the "Retina" Difference
If you've ever purchased a MacBook Pro or a modern iMac, you have interacted with a Retina display. The defining mathematical feature of a Retina display is an immensely high Pixel Density (PPI). Apple crams so many microscopic pixels into the aluminum chassis that the human eye physically cannot distinguish individual squares at normal viewing distances.
However, if Apple simply defaulted the macOS resolution to a strict 1:1 hardware mapping (for example, native 2560 x 1600 on a 13-inch laptop), the graphical icons, text documents, and browser tabs would render functionally microscopic. To immediately solve this, Apple engineered a software layer that artificially maps the interface elements to a "Looks like" resolution (such as 1440 x 900) while violently pushing incredibly sharp High-DPI vectors to the physical hardware underneath. As an end-user, understanding this distinction between "Look" scaling and "Hardware" scaling is the foundation of mastering your Mac.
2. Interactive Guide: Changing macOS Resolution Step-by-Step
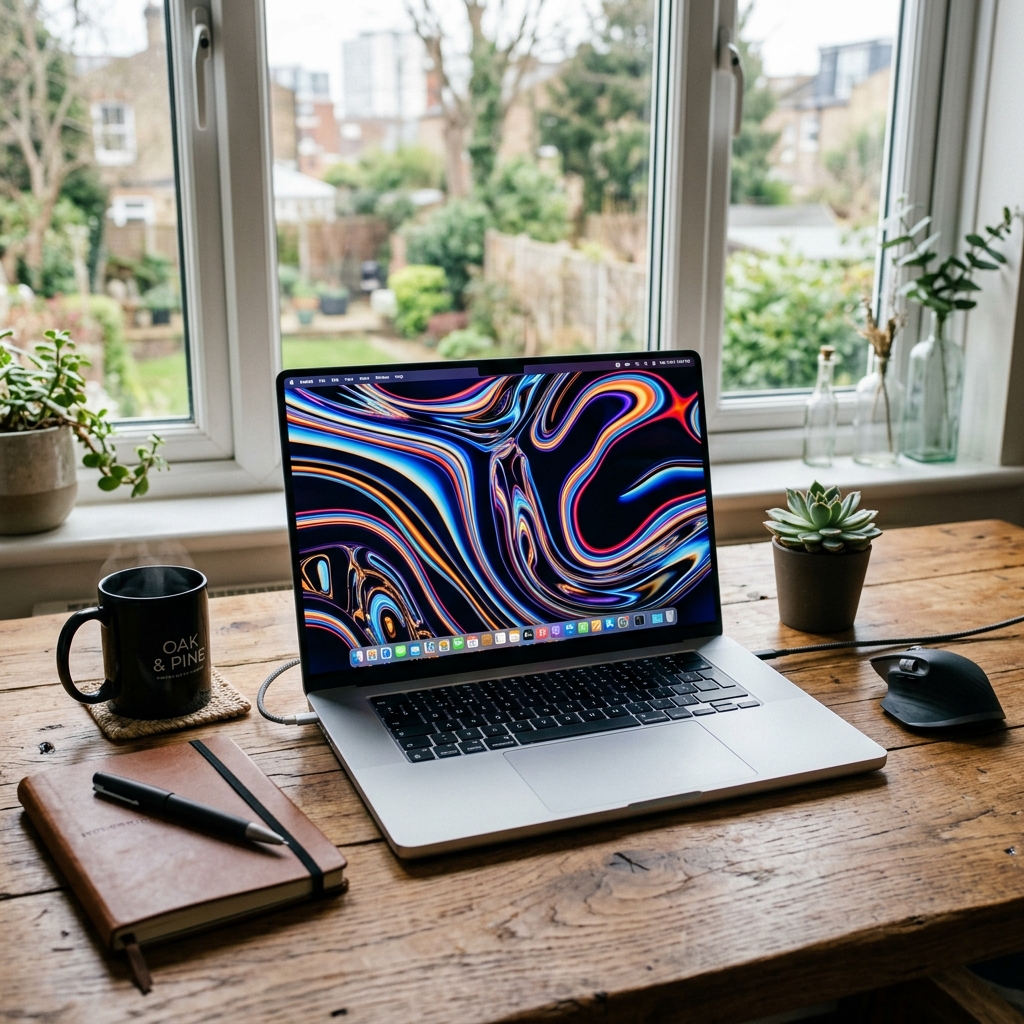
Whether you are currently running macOS Ventura, Sonoma, or a newer release, the System Settings has been completely unified to resemble the sleek aesthetic of the iPad. Instead of using a traditional numbers-based dropdown menu found on Windows, Apple visually simplifies the process. Below is an interactive representation of the exact menu you need to navigate to, complete with a visual indicator of where to click.
When you arrive at the Displays settings panel as perfectly illustrated above, here are the absolute precise steps to execute:
- Access System Settings: Click the unmistakable solid black Apple logo () in the absolute top-left corner of your menu bar, and firmly select
System Settings...(orSystem Preferenceson older models). - Navigate to Displays: Scroll down the left sidebar until you easily locate the
Displaystab and click it. - Find the Resolution Box: In the main window targeting your active monitor, look cleanly under the "Resolution" section. By factory default, Apple relentlessly enforces the "Default" option.
- Activate Scaling: Click precisely on the radio button marked Scaled (as pointed out by the red arrow in our diagram above).
- Choose Your Size: Depending strictly on your macOS version, you will either see a horizontal list of text options (like "Larger Text", "More Space") or a list of specific mathematical resolutions. If you specifically prefer smaller UI elements to fit incredibly massive Excel spreadsheets on your screen, confidently select the More Space thumbnail. Your Mac screen will instantly blink and resize flawlessly.
3. The Advanced Secret: Holding the Option Key
For advanced technical power users attempting to heavily diagnose compatibility bugs with complex external hardware, Apple deliberately hides the strict mathematical resolutions (like 1920x1080 or 2560x1440) behind a secret keystroke.
Once you navigate to the Displays setting window, fiercely hold down the Option (⌥) key on your keyboard while simultaneously clicking the "Scaled" radio button. Magically, the visually simplified "Larger Text" thumbnails will entirely vanish, completely replaced by a huge, highly technical dropdown list of every single raw numeric resolution your GPU can mechanically output. This is a critical diagnostic troubleshooting trick for legacy projector systems or unusual ultra-widescreen HDMI accessories.
4. External Monitors and "HiDPI" Issues
While the internal Retina screen handles completely flawless UI scaling, the macOS operating system historically struggles massively when abruptly connected to a third-party, non-Apple external desktop monitor—particularly generic 27-inch 1440p monitors or standard 1080p televisions.
Because macOS strictly targets a pixel density around 110 PPI (for non-Retina) or uniquely 220 PPI (for Retina), plugging an external screen that geometrically lands terribly in the middle—such as a 27-inch 4K monitor (which calculates to roughly 163 PPI)—can radically ruin text rendering. The text may suddenly appear visibly blurry, painfully fringed, or weirdly oversized.
If you encounter heavy blurry text on an external monitor attached to your Mac, navigate immediately back to the Displays menu, select your external monitor at the top, cleanly hold the Option key as previously taught, and attempt to select a resolution specifically tagged with the (HiDPI) classification. The HiDPI engine forces macOS to heavily render the interface internally at 4K, and mathematically downsample the pixels, resulting in incredibly sharp optical text regardless of the hardware panel.
5. Refresh Rates in macOS ProMotion
Resolution is only fifty percent of your visual experience metric; the other massive half is your refresh rate. Beginning intimately with the spectacular 14-inch and 16-inch MacBook Pros (Silicon M1 generation and higher), Apple introduced ProMotion. ProMotion is a brilliantly adaptive refresh rate engine that actively scales dynamically up to a blisteringly fast 120Hz for buttery-smooth scrolling, but mechanically drops entirely down to 24Hz when watching a standard movie to aggressively save battery power.
To explicitly verify if ProMotion is actively engaged, open the exact same Displays setting panel. Scroll entirely to the bottom and search for the Refresh Rate dropdown. For the absolute maximum premium visual fluidity, uniquely ensure this dropdown is powerfully set to ProMotion. Never manually lock it to 60Hz unless you are facing strange video-editing playback glitches.
6. Final Takeaway: Optimize Your Canvas
Taking explicit granular control of your macOS display settings profoundly impacts your daily digital comfort and workflow productivity. By profoundly understanding the deep difference between strict raw hardware output and intelligent UI "Looks like" scaling, utilizing the secret Option key diagnostic menu, and properly balancing HiDPI requirements for large external screens, you effectively ensure your premium graphical hardware delivers the breathtaking clarity that Apple's legendary engineers initially intended.